Pi Pico morse-code converter
I’m stuck in a government-appointed hotel for a mandatory 10 day isolation, following a lengthy trip to Guyana on an isolated drilling ship, and I’m somewhat bored.
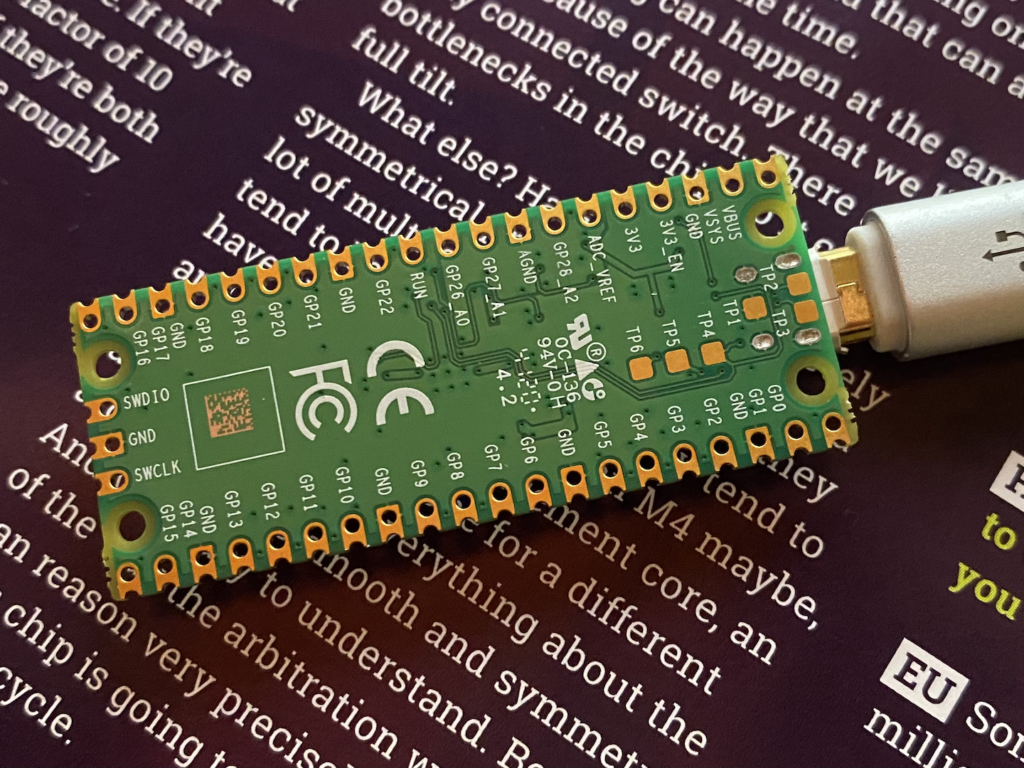
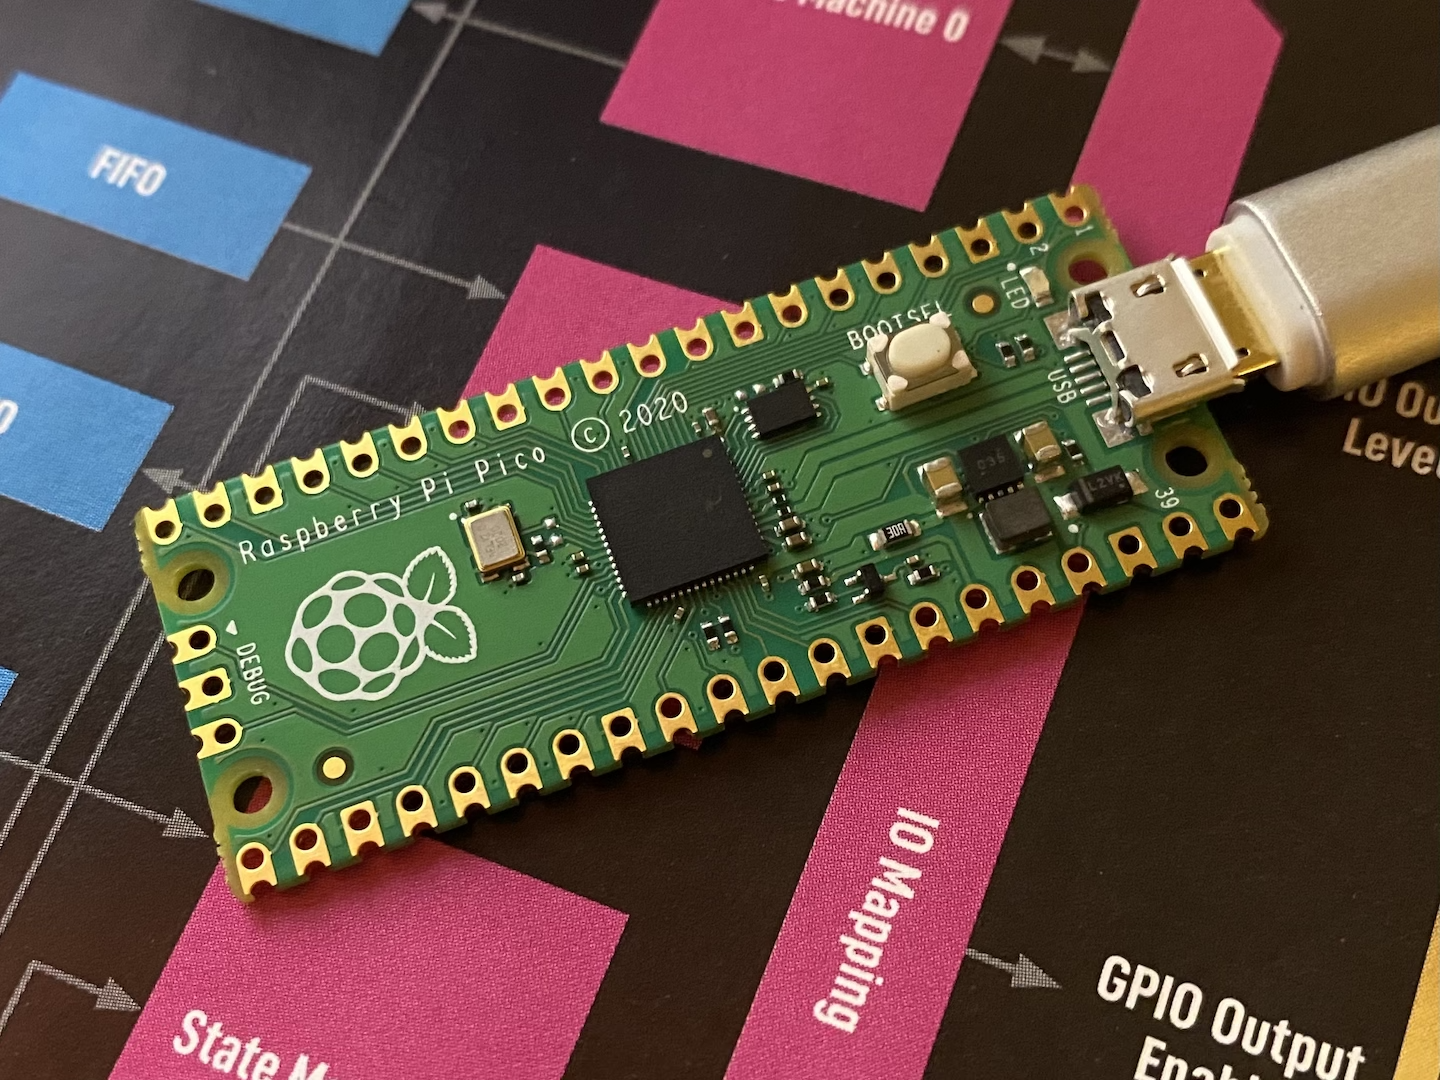
Thankfully, my wonderful cousin mailed me a copy of HackSpace magazine, which came with a free Raspberry Pi Pico, the new microcontroller by the Raspberry Pi Foundation.
This new microcontroller uses custom-made silicon, which contains two Arm Cortex M0+ cores, 264kB ram, 26 GPIOs which include two I2C, two SPI, two UART, and three ADC. The Pico has 2MB flash. It also has other stuff, like some fancy new thing called Programmable I/O (PIO) but I’ve no idea what that really does yet.

Well, because I’m stuck in a hotel room, and don’t have access to anything I can connect to the Pico, I was wondering what I could possibly do with just the onboard LED. My cousin jokingly suggested morse code.
Challenge accepted.
The Pico is provided with “getting started” guides for both C++ and Python, and It’s been a while since I did any programming in Python, so thought I would choose that route.
Check out the getting started page by Raspberry Pi https://www.raspberrypi.org/documentation/pico/getting-started/
It details the specs of the microcontroller and shows basic getting started guides for both MicroPython and C++. It explains how to get the Pico running MicroPython, by copying over the .uf2 file.
I used Thonny to interface with the Pico and as an IDE for writing my code. It’s pretty and does the job well. https://thonny.org
Once you’ve installed Thonny, select “Run” menu, then “Select interpreter…”, choose MycroPython (Raspberry Pi Pico) from the drop down.
It should autodetect the Pico.

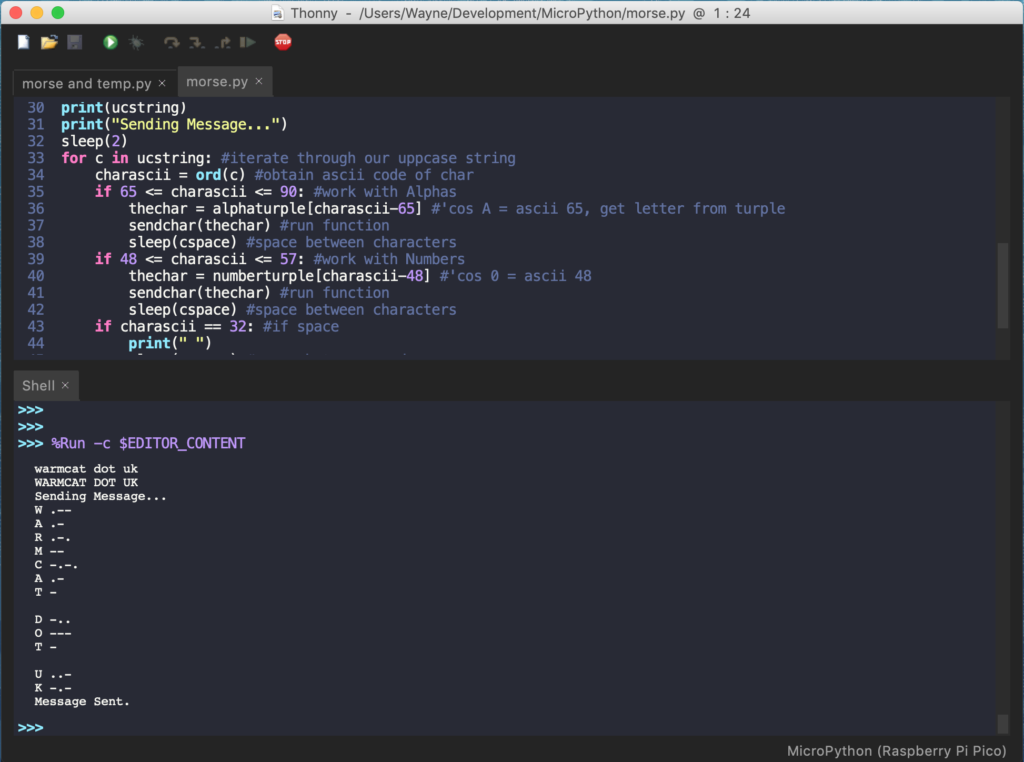
Basically, what the code does, is take a text string, and outputs it as morse code using the Pico’s onboard LED. It also shows what it’s doing via the serial console.
As for the coding, it’s fairly straight forward and should be easy to follow as I’ve commented most of the code. As it’s been a while since I did much programming in Python, as usual the internet comes in handy. Specifically https://www.w3schools.com/python/default.asp was great for reminding me of the correct syntax.
[pastacode lang=”python” highlight=”” provider=”manual”]
from machine import Pin
from time import sleep
led = machine.Pin(25, machine.Pin.OUT) #uses onboard led

timeunit = 0.12 #in seconds, adjust for speed
#ratios as per the International Morse code:
dit = timeunit
dah = timeunit*3
cspace = timeunit*3
wspace = timeunit*7

alphaturple = (".-","-...","-.-.","-..",".","..-.","--.","....","..",".---","-.-",".-..","--","-.","---",".--.","--.-",".-.","...","-","..-","...-",".--","-..-","-.--","--..")
numberturple = ("-----",".----","..---","...---","....-",".....","-....","--...","---..","----.")

stringtoconvert = "What hath God Wrought"

def sendchar(morse): #function declaration
    print (c + " " + morse)
    for x in morse:
        led.value(1)
        if x == ".":
            sleep(dit)
        elif x == "-":
            sleep(dah)
        led.value(0)
        sleep(dit)

print(stringtoconvert)
ucstring = stringtoconvert.upper() #convert to uppercase
print(ucstring)
print("Sending Message...")
sleep(2)
for c in ucstring: #iterate through our uppcase string
    charascii = ord(c) #obtain ascii code of char
    if 65 <= charascii <= 90: #work with Alphas
        thechar = alphaturple[charascii-65] #'cos A = ascii 65, get letter from turple
        sendchar(thechar) #run function
        sleep(cspace) #space between characters
    if 48 <= charascii <= 57: #work with Numbers
        thechar = numberturple[charascii-48] #'cos 0 = ascii 48
        sendchar(thechar) #run function
        sleep(cspace) #space between characters
    if charascii == 32: #if space
        print(" ")
        sleep(wspace) #space between words
print("Message Sent.")
[/pastacode]
Code is also published on Github: https://github.com/WarmCatUK/morsepico
My cousin tried it out with a piezo buzzer and it sounds great. Just a case of changing the output pin from 25 to whatever pin you connect your buzzer.
Below is a video of it in action with the LED:

What is the difference between wspace and cspace?
They are the spacing between characters and words. You can see at the top of the code, I’ve declared them as cspace being 3 times the length of a ‘dot’ and wspace 7 times the length of a ‘dot’.
There is some morse code standard which decides the timing, you can see it here: https://morsecode.world/international/timing.html
I did this a few weeks ago. I didn’t know many other people had done it. I’m taking it a bit further and am going to put the generated Morse out over shortwave.
I was thinking of ways to transmit and possibly receive and decode but never got around to it. I would love to see the results of your project 🙂
Great prog, but how do you input text to convert? Input () inserts text in my program using Thonny.
Hi David, the text is just a string within the code, I guess you could fetch the string via serial or somewhere else.
Did you run the example code I put together?